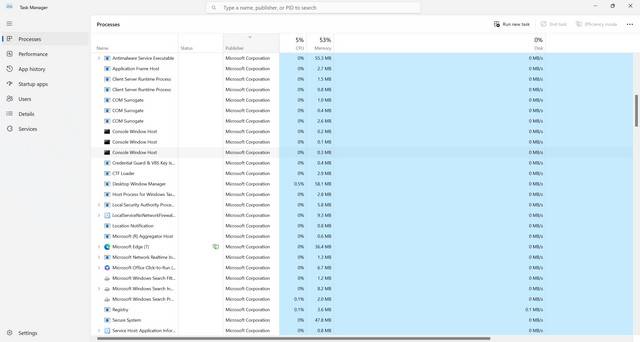
Wup.exe is a process that runs in the background of Windows operating systems. It is associated with Windows Update, which is responsible for downloading and installing updates for the operating system. While Wup.exe is an essential component of Windows, it can sometimes cause high CPU usage, leading to system slowdowns and performance issues. In this article, we will explore the causes of high CPU usage by Wup.exe and provide effective solutions to stop it.

Causes of High CPU Usage by Wup.exe
There are several reasons why Wup.exe may consume a significant amount of CPU resources:
- Large Number of Pending Updates: If there are a large number of pending updates for your Windows operating system, Wup.exe may consume high CPU resources while trying to download and install them.
- Corrupted Windows Update Components: Corrupted or damaged Windows Update components can cause Wup.exe to malfunction and result in high CPU usage.
- Malware Infection: In some cases, malware or viruses can disguise themselves as Wup.exe and cause high CPU usage. It is essential to regularly scan your system for malware using reliable antivirus software like Malwarebytes Free.
How to Stop High CPU Usage by Wup.exe
Here are some effective methods to stop high CPU usage caused by Wup.exe:
Method 1: Restart Windows Update Service
Restarting the Windows Update service can help resolve issues related to Wup.exe. Follow these steps:
- Press Windows + R to open the Run dialog box.
- Type services.msc and press Enter.
- In the Services window, locate Windows Update and right-click on it.
- Select Restart from the context menu.
Method 2: Clear Windows Update Cache
Clearing the Windows Update cache can help resolve issues with Wup.exe. Follow these steps:
- Press Windows + R to open the Run dialog box.
- Type services.msc and press Enter.
- In the Services window, locate Windows Update and right-click on it.
- Select Stop from the context menu.
- Open File Explorer and navigate to the following location: C:\Windows\Software\Distribution.
- Delete all the files and folders inside the SoftwareDistribution folder.
- Go back to the Services window, right-click on Windows Update, and select Start.
Method 3: Run Windows Update Troubleshooter
Windows Update Troubleshooter is a built-in tool that can automatically detect and fix issues with Windows Update. Follow these steps:
- Press Windows + I to open the Settings app.
- Click on Update & Security.
- In the left sidebar, click on Troubleshoot.
- Scroll down and click on Windows Update.
- Click on Run the troubleshooter and follow the on-screen instructions.
Method 4: Scan for Malware
As mentioned earlier, malware infections can cause high CPU usage by disguising themselves as Wup.exe. It is crucial to scan your system for malware using reliable antivirus software like Malwarebytes Free. Perform a full system scan and remove any detected threats.
Summary
Wup.exe is an essential process associated with Windows Update. However, it can sometimes cause high CPU usage, leading to system slowdowns. The causes of high CPU usage by Wup.exe include a large number of pending updates, corrupted Windows Update components, and malware infections. To stop high CPU usage, you can try restarting the Windows Update service, clearing the Windows Update cache, running the Windows Update Troubleshooter, and scanning for malware using reliable antivirus software like Malwarebytes Free. By following these methods, you can effectively resolve high CPU usage issues caused by Wup.exe and improve the performance of your Windows operating system.


