When you purchase a new Dell computer, you may notice that it comes pre-installed with various software programs. One such program is Dell PhotoStage, a multimedia software that allows you to manage and edit your photos, videos, and music. While Dell PhotoStage can be a useful tool for some users, others may find it unnecessary or even intrusive. In this article, we will explore what Dell PhotoStage is, its features, and whether or not you should consider removing it from your Dell computer.

What is Dell PhotoStage?
Dell PhotoStage is a multimedia software developed by CyberLink specifically for Dell computers. It is designed to help users manage and organize their photos, videos, and music in one central location. With Dell PhotoStage, you can easily import, edit, and share your media files with friends and family.
Some of the key features of Dell PhotoStage include:
- Photo and video editing tools: Dell PhotoStage provides basic editing tools such as cropping, rotating, and adjusting brightness and contrast. It also offers more advanced features like red-eye removal and special effects.
- Slideshow creation: You can create personalized slideshows with your photos and videos, complete with transitions, music, and captions.
- Music management: Dell PhotoStage allows you to organize and play your music collection. You can create playlists, search for songs, and even sync your music with portable devices.
- Social media integration: You can easily share your photos and videos on popular social media platforms like Facebook and YouTube directly from Dell PhotoStage.
Should I Remove Dell PhotoStage?
Whether or not you should remove Dell PhotoStage from your Dell computer depends on your personal preferences and usage patterns. Here are a few factors to consider:
1. Disk Space
Dell PhotoStage takes up a certain amount of disk space on your computer. If you are running low on storage or prefer to have more control over the programs installed on your system, removing Dell PhotoStage can free up some space.
2. Alternative Software
If you already have a preferred multimedia software or photo management tool, you may find Dell PhotoStage redundant. Removing it can streamline your workflow and avoid potential conflicts between multiple similar programs.
3. Performance Impact
Some users have reported that Dell PhotoStage can slow down their computer or cause performance issues. If you notice any performance degradation or experience system slowdowns, removing Dell PhotoStage might help improve your computer’s performance.
4. Privacy Concerns
Like any pre-installed software, Dell PhotoStage collects certain data about your usage patterns and preferences. If you have concerns about privacy and data collection, removing Dell PhotoStage can alleviate those concerns.
How to Remove Dell PhotoStage?
If you have decided to remove Dell PhotoStage from your Dell computer, there are a few methods you can use:
1. Uninstall via Control Panel
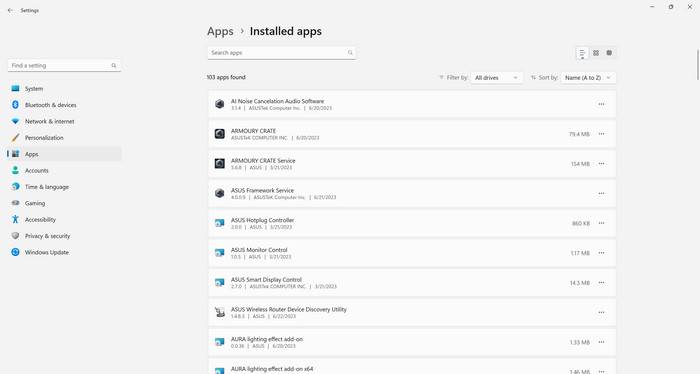
The most straightforward way to remove Dell PhotoStage is through the Control Panel on your Windows computer. Here’s how:
- Open the Control Panel by searching for it in the Windows search bar.
- Click on “Uninstall a program” or “Programs and Features.”
- Locate Dell PhotoStage in the list of installed programs.
- Right-click on Dell PhotoStage and select “Uninstall” or “Remove.”
- Follow the on-screen prompts to complete the uninstallation process.
2. Use a Third-Party Uninstaller
If you prefer a more thorough uninstallation process, you can use a third-party uninstaller tool like Revo Uninstaller Free. These tools can help remove any leftover files and registry entries associated with Dell PhotoStage, ensuring a clean removal.
Conclusion
Dell PhotoStage is a multimedia software that comes pre-installed on Dell computers. While it offers useful features for managing and editing photos, videos, and music, whether or not you should remove it depends on your personal preferences and needs. If you are low on disk space, already have alternative software, experience performance issues, or have privacy concerns, removing Dell PhotoStage might be a good option for you.
To remove Dell PhotoStage, you can use the Control Panel on your Windows computer or opt for a third-party uninstaller tool like Revo Uninstaller Free for a more thorough removal. Ultimately, the decision to remove Dell PhotoStage should be based on your individual requirements and usage patterns.


