

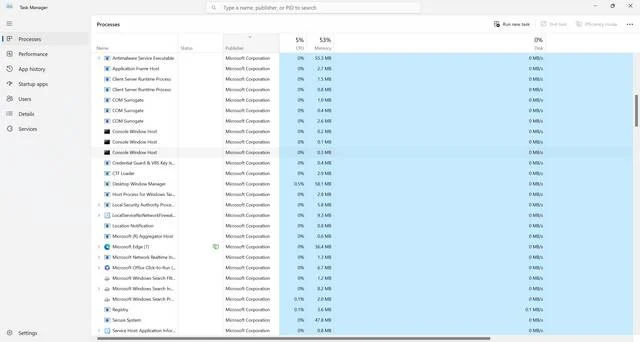
When you open the Task Manager on your Windows computer, you may come across a process called “Service Host: Network Connected Devices Auto-Setup Process” running in the background. This process, also known as “Device Setup Manager,” is responsible for automatically setting up and configuring network-connected devices on your system. In this article, we will explore why this process is running, its importance, and how it impacts your computer’s performance.
Understanding the Service Host: Network Connected Devices Auto-Setup Process
The Service Host: Network Connected Devices Auto-Setup Process is a crucial component of the Windows operating system. Its primary function is to detect and configure network-connected devices, such as printers, scanners, and other peripherals, to ensure seamless communication between your computer and these devices.
When you connect a new device to your computer, Windows relies on this process to automatically install the necessary drivers and software required for the device to function correctly. It eliminates the need for manual driver installations, making it convenient for users to connect and use various devices without any hassle.
Why Is It Running in Task Manager?
Seeing the Service Host: Network Connected Devices Auto-Setup Process running in the Task Manager is entirely normal and indicates that your computer is functioning as intended. It is a background process that runs continuously to monitor and manage network-connected devices.
Windows runs this process to ensure that whenever you connect a new device, it can quickly identify and configure it without requiring any user intervention. By running this process in the background, Windows can provide a seamless experience when connecting and using devices, saving you time and effort.
Impact on System Performance
The Service Host: Network Connected Devices Auto-Setup Process is designed to have minimal impact on your computer’s performance. It runs with low priority, meaning it utilizes only a small portion of your system resources, such as CPU and memory.
However, in some cases, you may notice a temporary increase in CPU or disk usage when this process is actively configuring a new device. This behavior is normal and should subside once the device setup is complete. If you notice prolonged high resource usage or any other performance issues, it is recommended to scan your system for viruses or malware using a reliable security software like Malwarebytes Free.
How to Manage the Service Host: Network Connected Devices Auto-Setup Process
If you want to manage the Service Host: Network Connected Devices Auto-Setup Process, you can do so through the Windows Services interface. Here’s how:
- Press Win + R on your keyboard to open the Run dialog box.
- Type services.msc and press Enter.
- In the Services window, locate and double-click on Device Setup Manager.
- In the Device Setup Manager Properties window, you can change the startup type to Manual or Disabled if you want to prevent the process from running automatically.
- Click Apply and then OK to save the changes.
It is important to note that disabling or stopping this process may prevent your computer from automatically detecting and configuring new devices. Only make changes to the process if you have a specific reason to do so and understand the potential consequences.
Conclusion
The Service Host: Network Connected Devices Auto-Setup Process, also known as Device Setup Manager, is a vital component of the Windows operating system. It ensures that your computer can seamlessly detect, configure, and use network-connected devices without requiring manual intervention.
While it may appear in the Task Manager and consume minimal system resources, it is essential for the smooth functioning of your computer. Disabling or stopping this process should only be done if you have a specific reason and understand the potential impact on device setup and functionality.
Next time you see the Service Host: Network Connected Devices Auto-Setup Process running in the Task Manager, you can rest assured that it is working behind the scenes to make your device setup experience hassle-free.

Join the discussion
0 commentsShare your experience or ask a question about this article.
Discussion
Start the conversation
Have a question or something useful to share? Add the first comment.