JS/ProxyChanger.CW is a heuristic detection designed to generically detect a Trojan Horse. Due to the generic nature of this threat, we are unable to provide specific information on what it does.
A typical behavior for Trojans like JS/ProxyChanger.CW is one or all of the following:
- Download and install other malware.
- Use your computer for click fraud.
- Record your keystrokes and the sites you visit.
- Send information about your PC, including usernames and browsing history, to a remote malicious hacker.
- Give a remote malicious hacker access to your PC.
- Advertising banners are injected with the web pages that you are visiting.
- Random web page text is turned into hyperlinks.
- Browser popups appear which recommend fake updates or other software.
Always opt for the custom installation and deselect anything that is not familiar, especially optional software that you never wanted to download and install in the first place. It goes without saying that you should not install software that you don’t trust.
How to remove JS/ProxyChanger.CW virus (Virus Removal Guide)
Please perform all the steps in the correct order. If you have any questions or doubt at any point, STOP and ask for our assistance.
- To remove JS/ProxyChanger.CW virus, follow these steps:
- STEP 1: Use Zemana AntiMalware Portable to remove malware
- STEP 2: Scan and clean your computer with Malwarebytes Anti-Malware
- STEP 3: Double-check for malicious programs with HitmanPro
STEP 1: Use Zemana AntiMalware Portable to remove malware
Zemana AntiMalware Portable is a free utility that will scan your computer for the JS/ProxyChanger.CW browser hijacker and other malicious programs.
- You can download Zemana AntiMalware Portable from the below link:
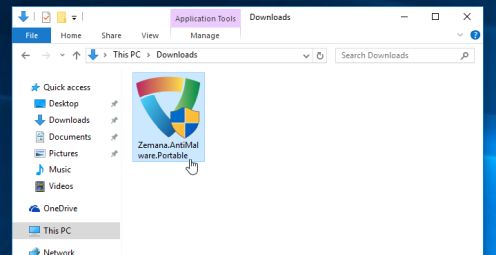
ZEMANA ANTIMALWARE PORTABLE DOWNLOAD LINK (This link will open a new web page from where you can download “Zemana AntiMalware Portable”) - Double-click on the file named “Zemana.AntiMalware.Portable” to perform a system scan with Zemana AntiMalware Free.
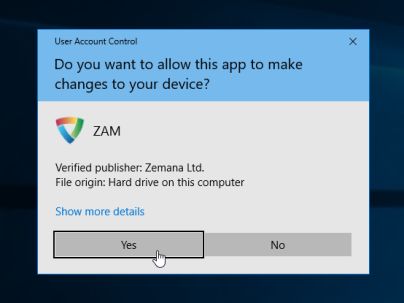
You may be presented with a User Account Control dialog asking you if you want to run this program. If this happens, you should click “Yes” to allow Zemana AntiMalware to run.
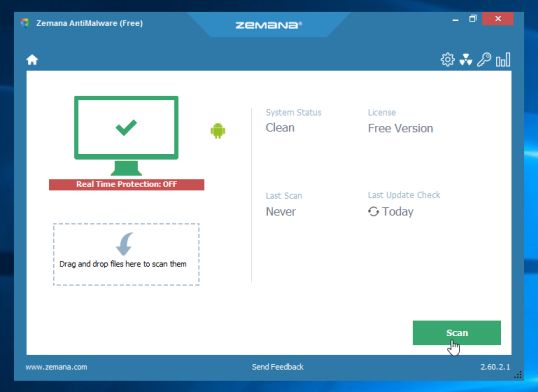
- When Zemana AntiMalware will start, click on the “Scan” button to perform a system scan.
- Zemana AntiMalware will now scan your computer for malicious programs. This process can take up to 10 minutes.
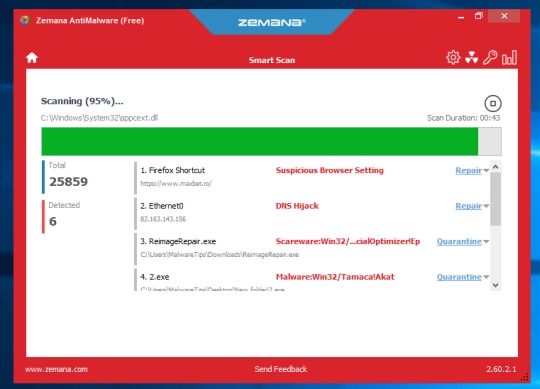
- When Zemana has finished finished scanning it will show a screen that displays any malware that has been detected. To remove all the malicious files, click on the “Next” button.
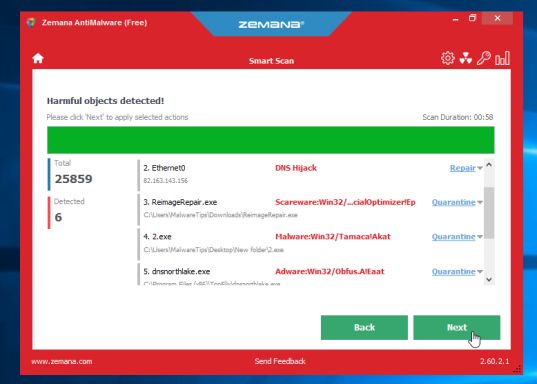
Zemana AntiMalware will now start to remove all the malicious programs from your computer. When the process is complete, you can close Zemana AntiMalware and continue with the rest of the instructions.
STEP 2: Scan and clean your computer with Malwarebytes Anti-Malware
Malwarebytes Anti-Malware is a powerful on-demand scanner which should remove the JS/ProxyChanger.CW virus from your machine. It is important to note that Malwarebytes Anti-Malware will run alongside antivirus software without conflicts.
- You can download download Malwarebytes Anti-Malware from the below link.
MALWAREBYTES ANTI-MALWARE DOWNLOAD LINK (This link open a new page from where you can download “Malwarebytes Anti-Malware”) - When Malwarebytes has finished downloading, double-click on the “mb3-setup-consumer” file to install Malwarebytes Anti-Malware on your computer.
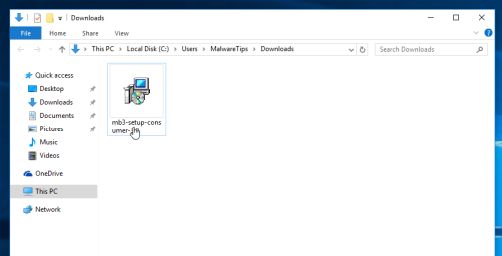
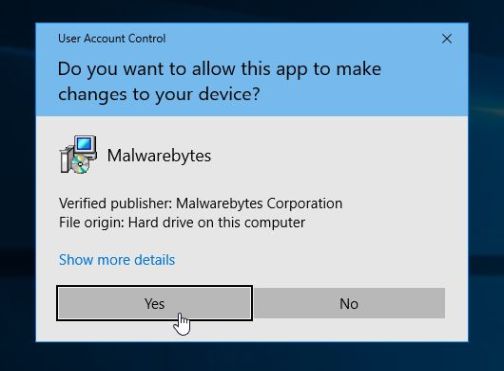
You may be presented with an User Account Control pop-up asking if you want to allow Malwarebytes to make changes to your device. If this happens, you should click “Yes” to continue with the installation.
- When the Malwarebytes installation begins, you will see the Malwarebytes Setup Wizard which will guide you through the installation process.
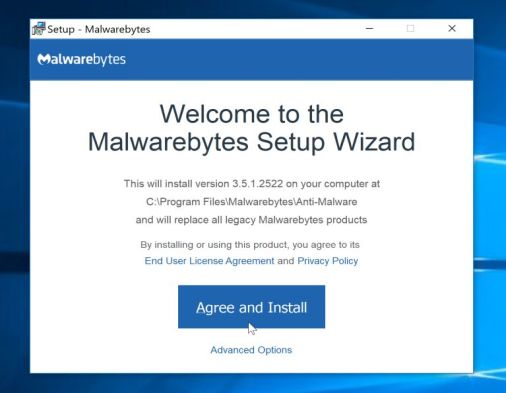
To install Malwarebytes Anti-Malware on your machine, keep following the prompts by clicking the “Next” button.
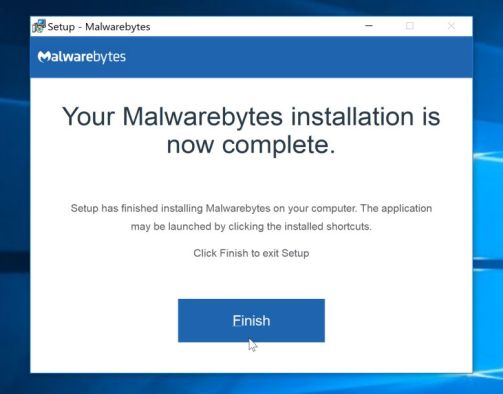
- Once installed, Malwarebytes will automatically start and update the antivirus database. To start a system scan you can click on the “Scan Now” button.
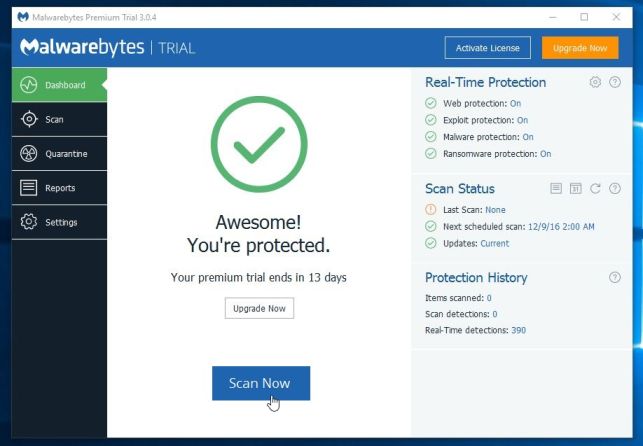
- Malwarebytes Anti-Malware will now start scanning your computer for malicious programs.
This process can take a few minutes, so we suggest you do something else and periodically check on the status of the scan to see when it is finished.
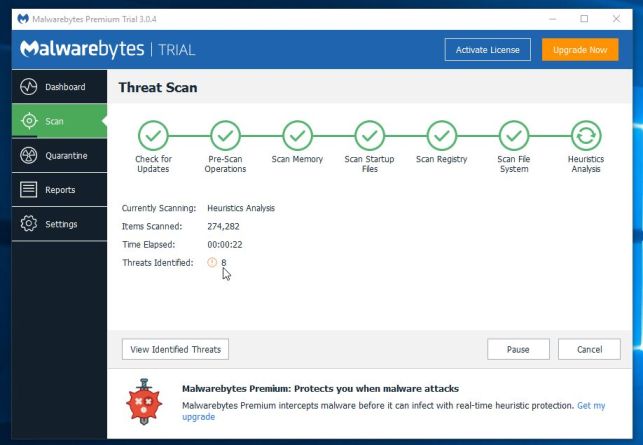
- When the scan has completed, you will be presented with a screen showing the malware infections that Malwarebytes Anti-Malware has detected.
To remove the malicious programs that Malwarebytes has found, click on the “Quarantine Selected” button.
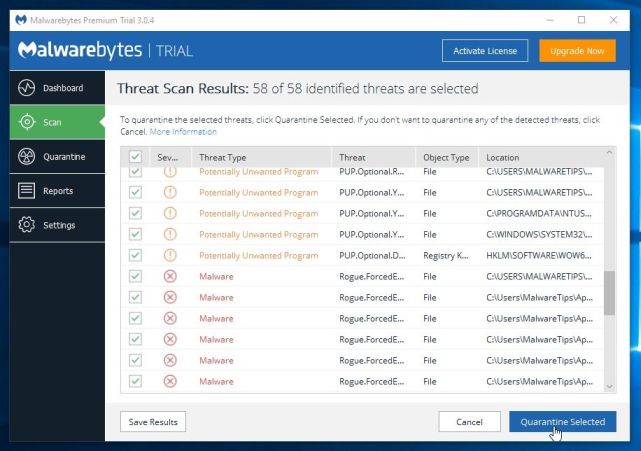
- Malwarebytes Anti-Malware will now quarantine all the malicious files and registry keys that it has found.
To complete the malware removal process, Malwarebytes may ask you to restart your computer.
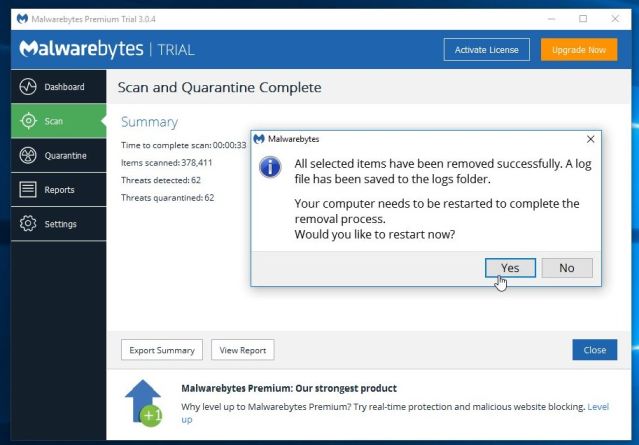
When the malware removal process is complete, you can close Malwarebytes Anti-Malware and continue with the rest of the instructions.
STEP 3: Double-check for malicious programs with HitmanPro
HitmanPro can find and remove malware, adware, bots, and other threats that even the best antivirus suite can oftentimes miss. HitmanPro is designed to run alongside your antivirus suite, firewall, and other security tools.
- You can download HitmanPro from the below link:
HITMANPRO DOWNLOAD LINK (This link will open a new web page from where you can download “HitmanPro”) - When HitmanPro has finished downloading, double-click on the “hitmanpro” file to install this program on your computer.
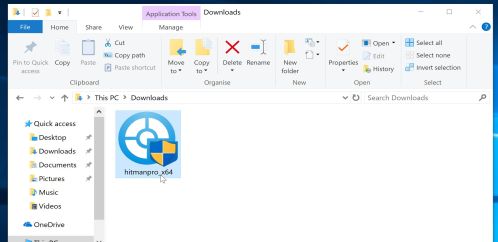
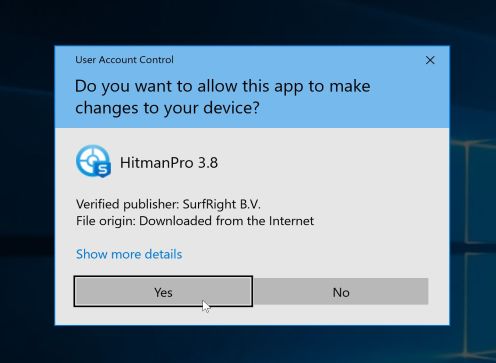
You may be presented with an User Account Control pop-up asking if you want to allow HitmanPro to make changes to your device. If this happens, you should click “Yes” to continue with the installation.
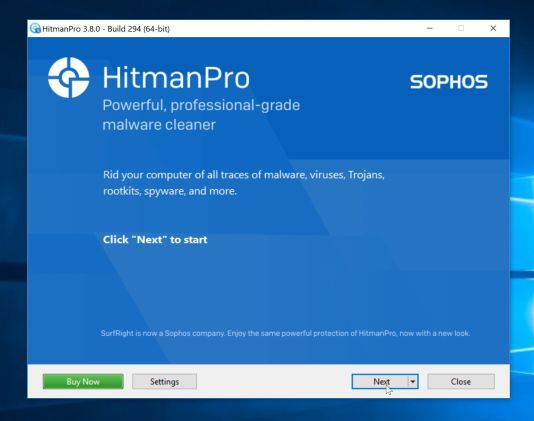
- When the program starts you will be presented with the start screen as shown below. Now click on the Next button to continue with the scan process.
- HitmanPro will now begin to scan your computer for malware.
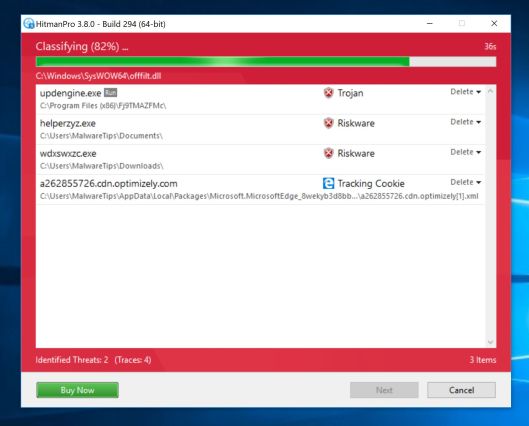
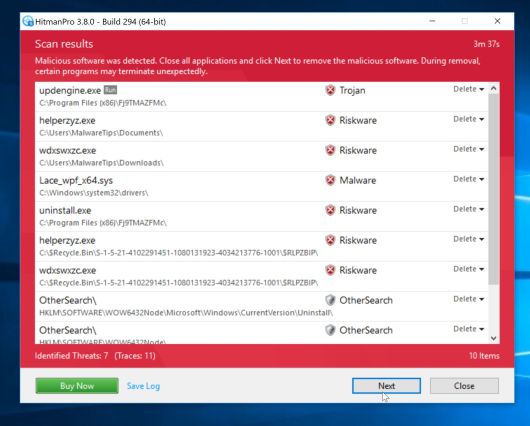
- When it has finished it will display a list of all the malware that the program found as shown in the image below. Click on the “Next” button, to remove malware.
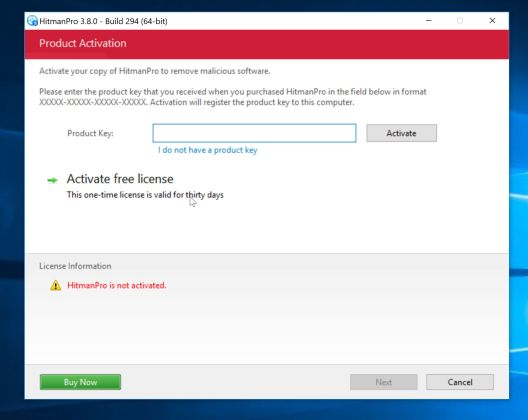
- Click on the “Activate free license” button to begin the free 30 days trial, and remove all the malicious files from your computer.
When the process is complete, you can close HitmanPro and continue with the rest of the instructions.



![Remove Salesaddtrk.com Pop-up Ads [Virus Removal Guide] 9 McAfee scam 4](https://malwaretips.com/blogs/wp-content/uploads/2023/08/McAfee-scam-4-290x290.jpg)