- Oct 23, 2012
- 12,527
If you have noticed a decrease in your Internet speed since applying the Windows 10 Anniversary Update edition it might be due to Windows reintroducing a feature called "Window Auto-Tuning.
Originally introduced back in Vista Microsoft has included this feature in the Anniversary update.
It is set to on by default and is designed to improve performance for those programs that receive TCP data over a Network.
This should make data transfers more efficient however some might experience slower data transfer speeds in Windows 10 than before applying the Anniversary update.
There is a way to manage the Windows Auto-Tuning feature by way of a command prompt.
First you will need to check to see whether Windows Auto-Tuning is enabled/disabled
You will need to open a command prompt as an Administrator

You may want to disable the feature to run connection tests and see if it is the cause for the limited Internet speed that you are getting out of the connection.
Run the following command to disable Window Auto-Tuning on Windows 10:

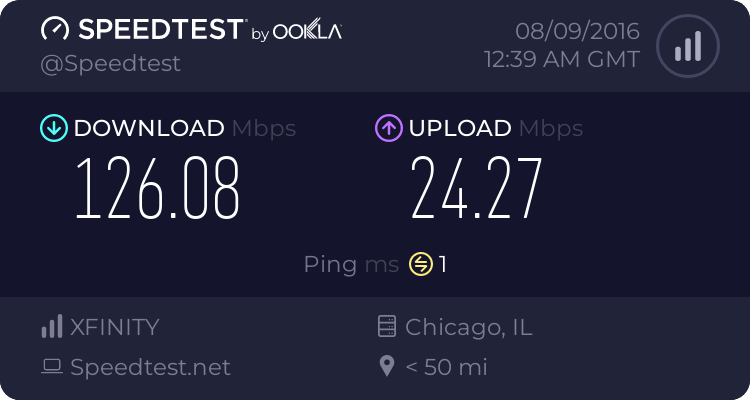
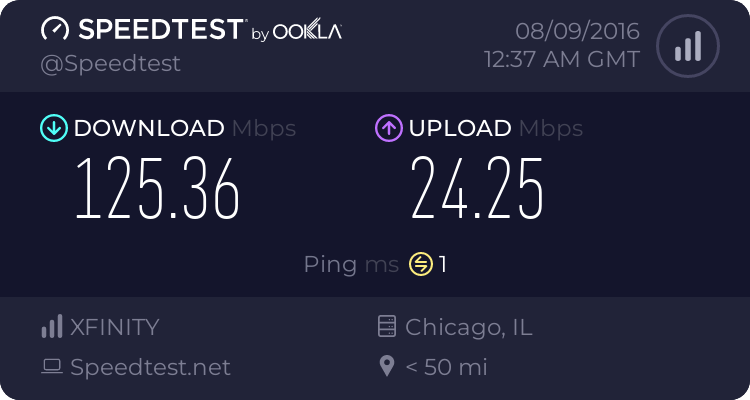
Once disabled, start downloads just like before and monitor the speeds that you get.
If it did not, you may want to turn it on again. This is done by running the following command:
A good analysis and more information on this feature go here How Windows is Killing Internet Download Speeds
Source: gHacks Technology News
*Note: Unless you are experiencing marked speed slowdowns since the update this setting might be the cause for the slower speeds.
If you are not seeing any difference it is probably best to leave the setting on default.
As always use caution and use at your own risk.
Originally introduced back in Vista Microsoft has included this feature in the Anniversary update.
It is set to on by default and is designed to improve performance for those programs that receive TCP data over a Network.
This should make data transfers more efficient however some might experience slower data transfer speeds in Windows 10 than before applying the Anniversary update.
There is a way to manage the Windows Auto-Tuning feature by way of a command prompt.
First you will need to check to see whether Windows Auto-Tuning is enabled/disabled
You will need to open a command prompt as an Administrator
- Tap on the Windows-key, type cmd.exe, hold down Shift and Ctrl keys, and hit enter.
- Confirm the UAC prompt that opens.
- Run the command netsh interface tcp show global
You may want to disable the feature to run connection tests and see if it is the cause for the limited Internet speed that you are getting out of the connection.
Run the following command to disable Window Auto-Tuning on Windows 10:
- netsh int tcp set global autotuninglevel=disabled
Once disabled, start downloads just like before and monitor the speeds that you get.
If it did not, you may want to turn it on again. This is done by running the following command:
- netsh int tcp set global autotuninglevel=normal
A good analysis and more information on this feature go here How Windows is Killing Internet Download Speeds
Source: gHacks Technology News
*Note: Unless you are experiencing marked speed slowdowns since the update this setting might be the cause for the slower speeds.
If you are not seeing any difference it is probably best to leave the setting on default.
As always use caution and use at your own risk.
Last edited:


