silversurfer
Super Moderator
Thread author
Verified
Top Poster
Staff Member
Malware Hunter
Forum Veteran
- Aug 17, 2014
- 13,095
- 125,713
- 8,399
Windows 11 names networks automatically when they are discovered for the first time. Ethernet connections that connect using cables get generic network names, such as Network 4, which may be problematic for identification. Wireless networks get the SSID as the name by default; sometimes, you may want to change that name as well to improve identification or change a name that you may consider inappropriate.
Windows 11 includes options to change network names. Everything that is required to do that is available already, installation of software programs or applications is not required.
This guide provides you with the means to change network names on Windows 11 using different methods. Pick the one that you prefer or need to use, if you are in a corporate environment.
The very first thing that you need to do is make sure you have the current name of the network adapter that you want to change.
Network names in Settings

One option that you have is to use the Settings application for that.
- Select Start > Settings.
- Open Network & Internet.
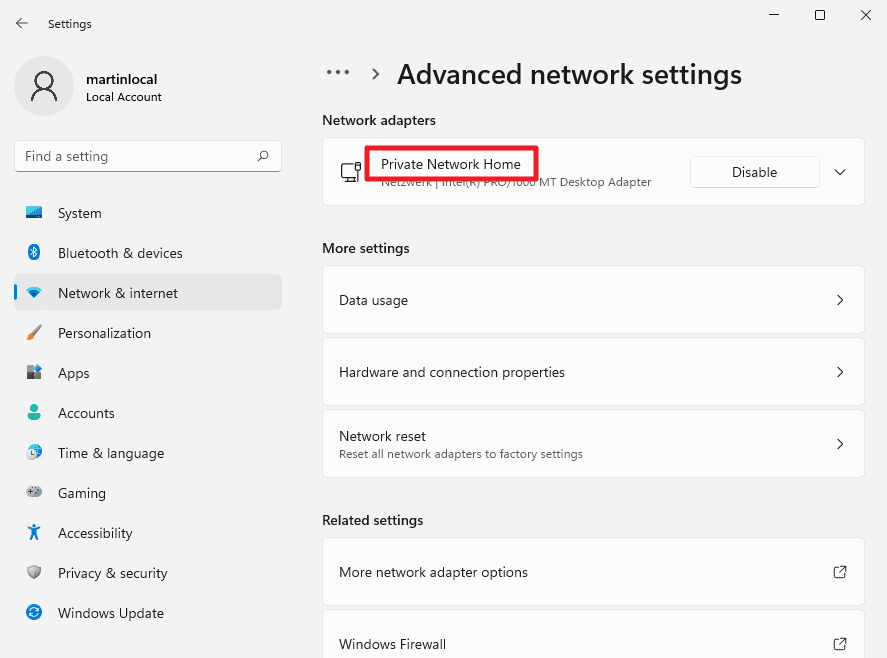
- Open Ethernet or Wi-fi depending on the network name that you want to change.
- The name is displayed at the top (see screenshot above).
Network names in Control Panel
Alternatively, you may also open the classic Control Panel and look up the information using it.

- Open Start.
- Type Control Panel and open the result.
- Go to Network and Internet > Network and Sharing Center.
- Windows 11 displays the active networks on the page that opens, including their names.
Changing the name of a network in Windows 11
Windows 11 administrators have several options when it comes to changing the name of a network:
- Edit the network name in the Registry.
- Edit network names using Local Security Policy.
Edit the network name in the Registry

The Registry option is not as straightforward as the PowerShell option. Still, it may be used in scripts and has its uses because of that.
The change is active immediately, but only on the device. Repeat the process for other profiles that you want to change the name of.
- Open the Start Menu of the device.
- Type regedit.exe and select the "run as administrator" option to load the Windows 11 Registry Editor.
- Go to HKEY_LOCAL_MACHINE\SOFTWARE\Microsoft\Windows NT\CurrentVersion\NetworkList\Profiles
- Expand the profiles listing.
- You need to go through each now to find the profile with the correct name.
- Double-click on ProfileName when you have found the right profile and type the new name that you want to assign to it.
How to change network names on Windows 11 - gHacks Tech News
The guide walks you through the steps of changing network names on Microsoft's Windows 11 operating system.
 www.ghacks.net
