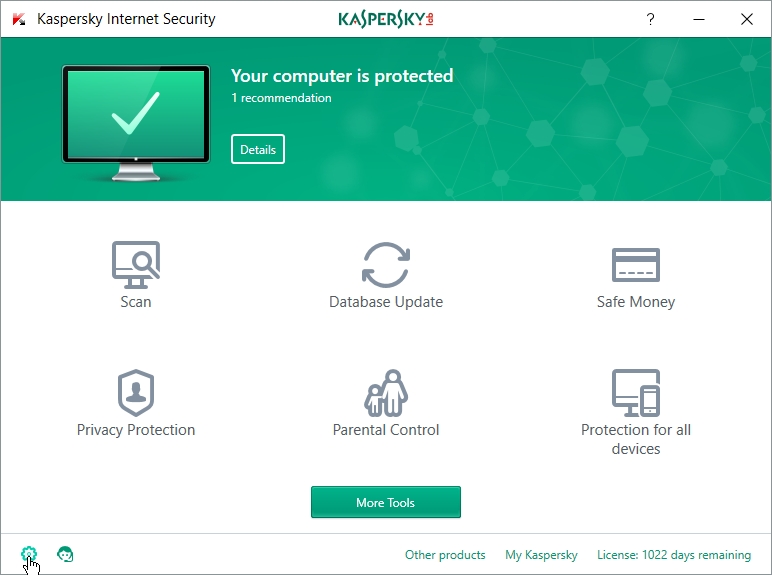
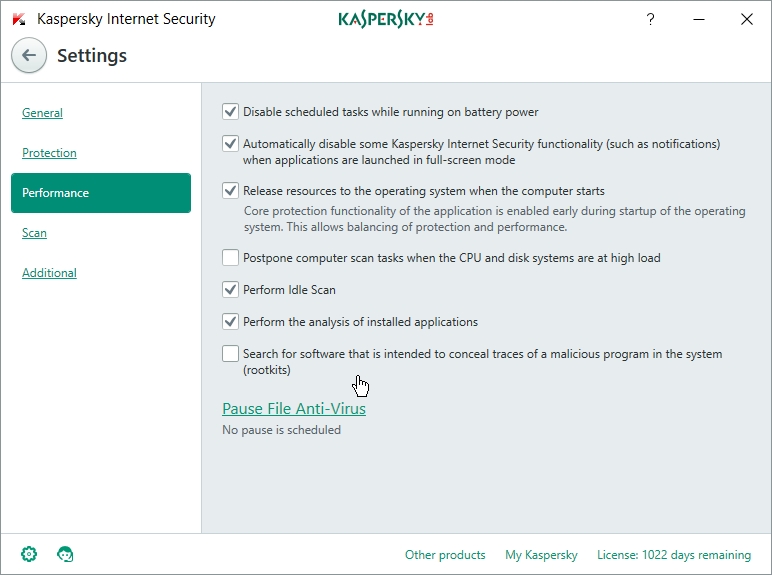
- Click on settings icon to go to Kaspersky settings, as shown below
- Click “File Antivirus“

- Set “Action on threat detection” as “Disinfect, if not possible – delete“

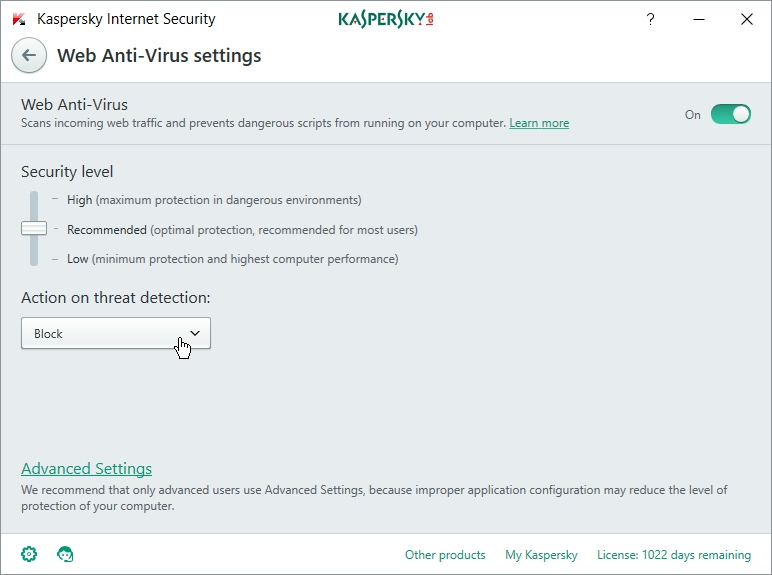
- Click “Web Anti-Virus“

- Set “Action on threat detection” as “Block“
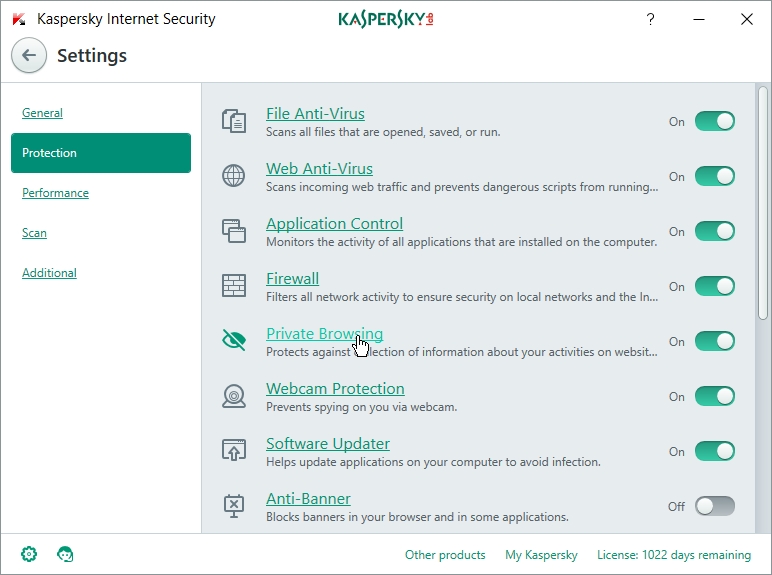
- Click on”Private browsing“
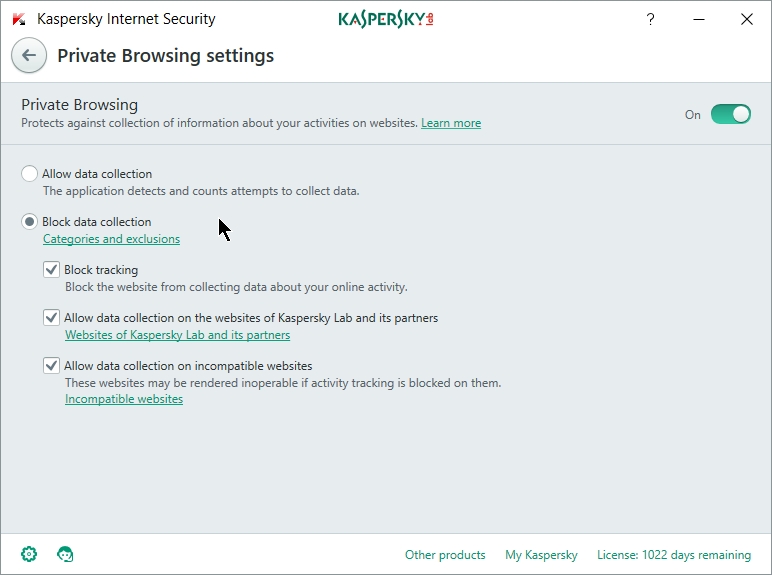
- Select “Block data collection“
- You may untick “Search for software that is intended to conceal traces of a malicious program in the system“
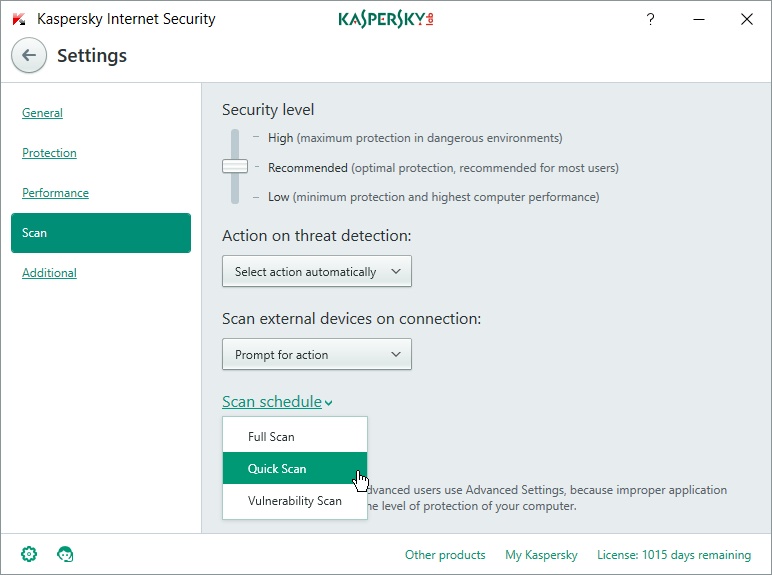
Scheduled Scan
- Select “Scheduled scan -> Quick Scan“
- Set Run Scan to “Everyday“
- Set the Time at which scan will be done
- Click “Save“

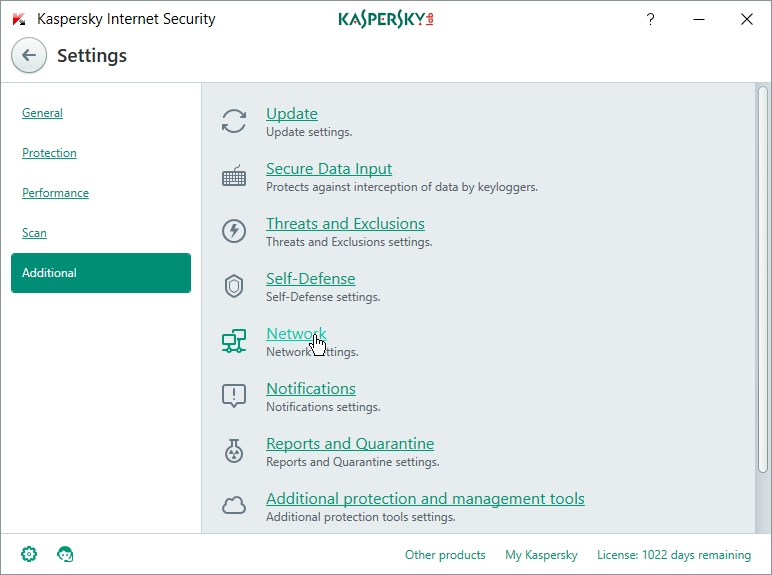
- Click “network” as shown below
- Click “Advanced settings” as shown below

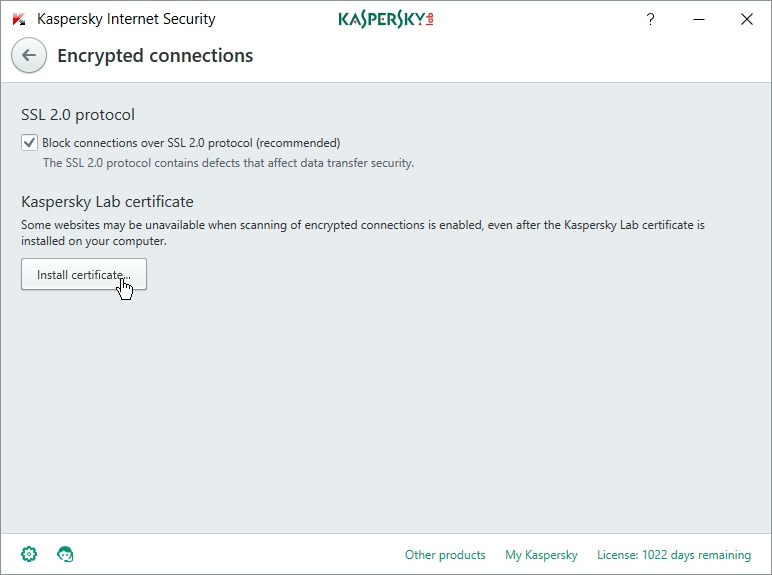
- Click “install certificate“
- Click “Next“

- Click “Finish“
VULNERABILITY SCAN
- Click “vulnerability scan“

- Click “Start scan“

- After the scan the list of vulnerability found in the system will be shown.
- Click on it as shown below

- The list of the vulnerable application installed in the system is shown.
- You need to update the application with the latest version of that application.

- click “vulnerability in the operating system“

- Select all vulnerability
- Click “Fix“

KASPERSKY APPLICATION MANAGER SETTING
- Click “Application Control“

- Click “Manage applications“

- Click as shown below to collapse the Trusted applications list

- Under “Network” select “Deny” for “Low restricted”, “High restricted” and “Untrusted”

- It should look something like below
- close the window

- Click “Manage Resources“

- Select category “Personal data“
- Select “Add->Category” as shown below

- Type “Category name” as “PROTECTED FILES” as shown below
- Click “Add“
- Select category “PROTECTED FILES” as shown below

- Select “Deny” for all three “Low restricted“, “High restricted” and “Untrusted” as shown below

- It should look as shown below

- Select category “PROTECTED FILES“
- Select “Add -> File or Folder“
- Add D partition as shown below
- Name “D“
- Path “D:\*“
- Click “Add“
- Similarly add E,F,G,H,I,J,K,L,M,N,O,P partitions as shown below.
- Don’t add C: partition in which windows OS is installed
- Click “save“
- If you want any “Low restricted” application to allow access files in “PROTECTED FILES” category then
- Select the “PROTECTED FILES” category.
- Select the application you want to allow and set “Allow” under “Read,”Write“,”Create” and “Delete” as shown below
- Click “Save“
- If you want to allow any “Low restricted” application allow access to the internet then
- Select the application and set “Allow” under the “Network” as shown below
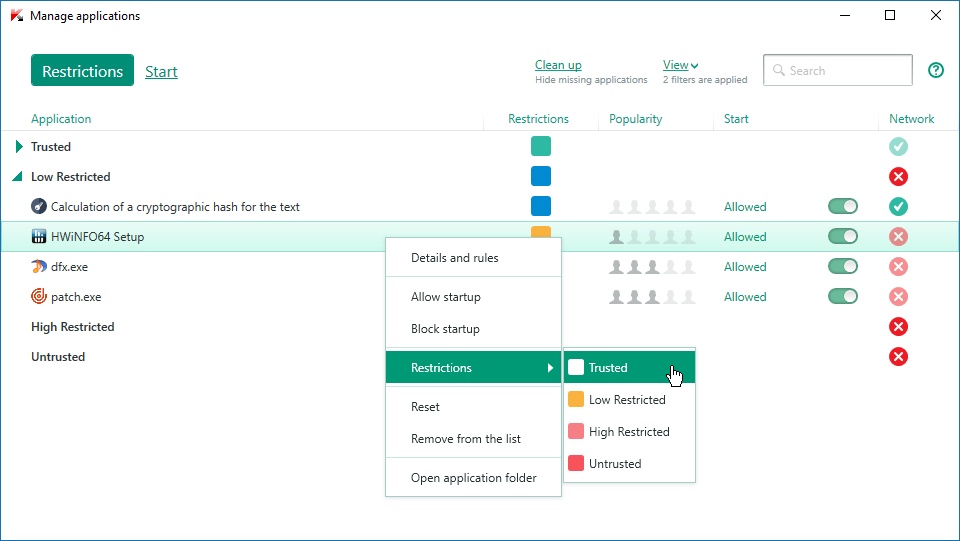
- If you want to install a safe application which is place in “Low restricted” then right click on it and set ” Restictions-> trusted“.
- Then run the application installer.
Last edited:

")